










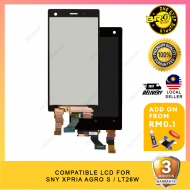
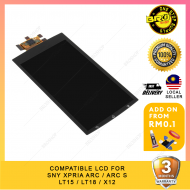
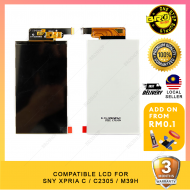


Vertical lines displaying on the screen (as shown in the picture below) is always a direct result of LCD panel that has cracked. The most common occurrence for this kind of crack, is during installation, or pressure damage.
To better understand of these, it's worth to explain how a mobile phone LCD and Digitizer Assembly's are built, including the most LCD we sell at Broshop.
Most of the premium LCD's we sell, are made to the exact same specification as an original LCD from your phone. Most of them are created of 4 main layers;
The premium LCD's we sell, or third party, are made very similarly, except the outer glass and digitizer are made up in the same layer.
Now we know the different layers, it's easier to understand how an LCD can be cracked without the outer glass showing any damage.
LCD inner crack picture

We'll go into depth here about the most common cause of this type of crack, fitment.
before install a replacement mobile phone LCD, it is important that you DRY TEST the LCD prior to fitting it into the chassis (before pressing the LCD down into the frame.) By "Dry Testing" we mean only connecting the digitizer and LCD cables, and powering up the device without any fitment. The same as connecting any flex cables, be sure that the connections sit smooth and flush to avoid damaging the flexes. This Dry Testing process allows you to check the LCD for any faults, issues or damage, without full fitment. The reason why this is so important, is because most damage to the LCD occurs when pressing the LCD into the frame, and damage during fitment, is not covered under warranty because it consider human damage. This dry test allows you to report any problems or damage, without voiding your warranty by fitting it.
Should the screen display lines, or signs of damage at this point, DO NOT CONTINUE WITH THE REPAIR OR INSTALL.
Any damage reported after fitment/instalL will not be covered under warranty.

Now that you have dry tested the LCD assembly & know that it is fully functional and shows no sign of damage, you can now power the device back down, and fit the LCD.
When it comes to this, you need to take extreme care when gently pressing the assembly into the frame. even the screw location, Avoid applying pressure to the top two corners, as this is the most common area to break.
If this has been done correctly, you can now power the device back up and your LCD should still be working as it was during the dry test. We now know that the LCD was working perfectly prior to fitment thanks to the Dry Test, so should lines develop, the only conclusion is that this happened during the fitment process. This is why the Dry Test is such an important step when fitting an LCD.